- World Wide Delivery

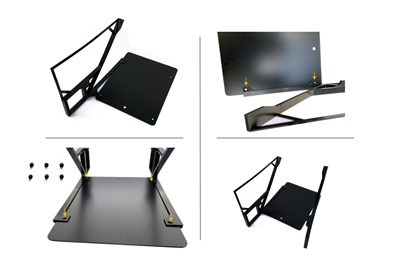
1. Remove the protective layer from the two plates (2, 3). 2. Slide the bottom of the plate (2) into the side holder (12) so that the holes overlap. Secure the plate to the side holder with two pins (8). 3. Mount the second side holder (13) on the bottom of the plate (2) and fasten it with the two pins (8).
4. Slide the top of the plate (3) between the side holders (12,13). Secure the top of the plate with two pins (8).

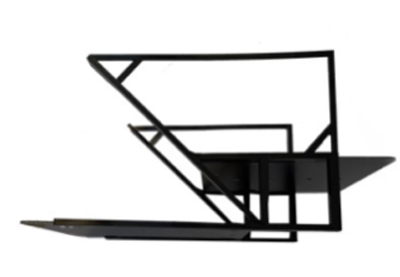
5.Remove the protective layer of the reflective glass (1) on both sides and slide it into the side holders (12,13). Cover the pins (8) with the foam rubber stickers (5) to provide more support for the projection device
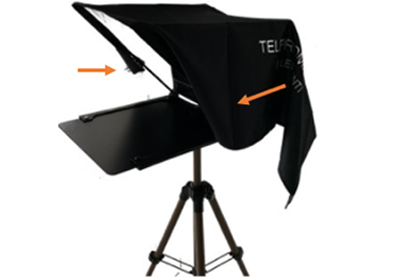
6. Place the cloth (4) over the teleprompter so that there is a clear view of the reflective glass. Fasten the cloth (4) to the teleprompter with the two clamps (9).
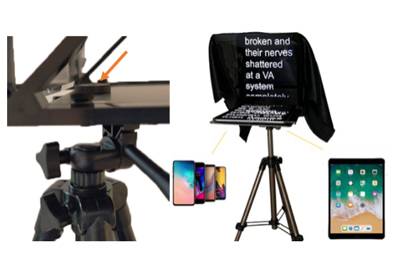
7. The teleprompter can be attached to a tripod with the nut (7). Place the projection device on the bottom of the plate. Turn up the display brightness of the projection device.
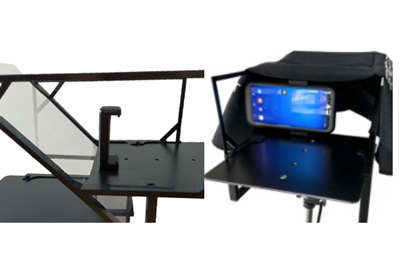
8. Screw the silver screw (6) into the smartphone holder from below. Place VERY CLOSE to the reflective glass. The holder is suitable for smartphones, webcams and GoPros. Zoom in if edges are visible in the image during the exposure.
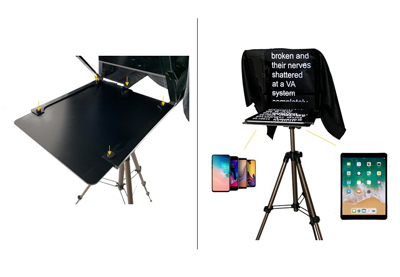
9. For recording with a heavy camera: Remove the center plate (3), fix the camera on a second tripod and place it behind the teleprompter (VERY CLOSE TO THE GLASS). Attach the cloth. [The tripod can be purchased in the Leeventi store].